Create Issues
Create issues to track work, communicate areas for improvement, resolve problems, and prevent delays. You can create issues on the web or on your Android or iOS device, assign them to team members, and track their progress.
On web, you can create an issue manually or you can import up to 500 issues from an Excel or CSV file.
This topic includes:
- Configure Issue Settings
- Create Issues in the Issues Tool
- Place Issues on 3D Models and Create Thumbnails
- Create Issues in Other Tools
Configure Issue Settings
Before creating issues on your project, be sure to configure your issue settings.
Create Issues in the Issues Tool
To create an issue:
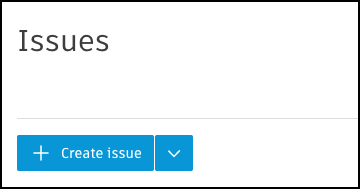
Click the Issues tool.
Click Create issue.
Fill out the fields in the Create issue window. Creating an issue contains required fields, default fields, and custom fields.
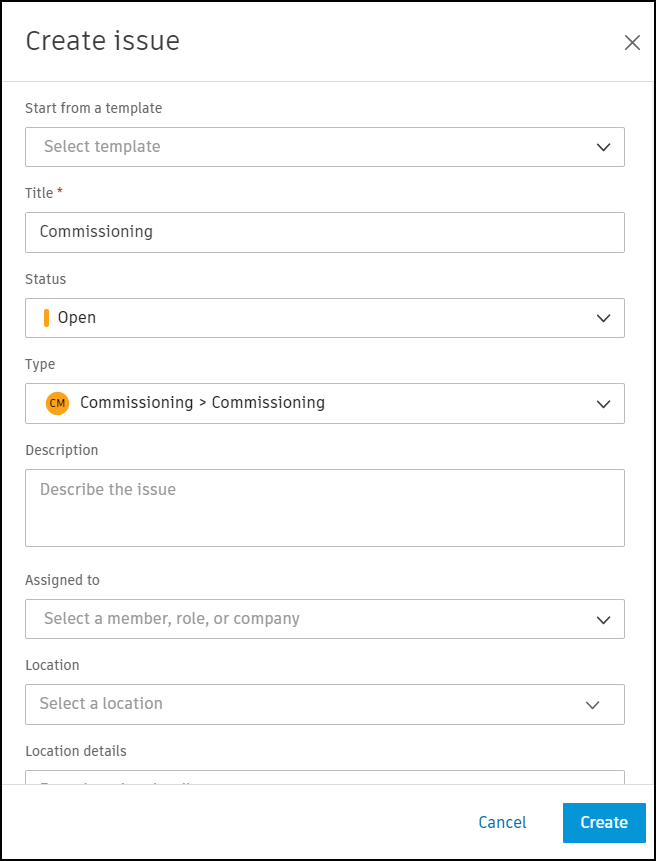
Start from a template: Create an issue quickly by selecting from an existing template in the drop-down menu, search for one by name, or select from your three most recently used templates at the top. Learn about issue templates here.
Complete the required fields:
Title: Enter your desired title. You will be able to search by issue title in the issues log.
Status: Choose from the available statuses in the drop-down menu. Project administrators can configure what statuses are available in the Statuses settings.
Type: Select an existing issue type. The types are organized under categories. Both categories and types are preconfigured or previously created in the Types settings.
- Note: If any fields are hidden for the selected type, you may not see some of the default fields. Learn about hidden fields in Manage Fields in Issue Types.
Other fields may also be required based on your project’s issue types settings. These fields are marked with an asterisk.
Complete the other default fields where relevant:
Description
Assigned to: Select a member, role, or company from the drop-down menu or enter in a name to filter the list of options.
- Note: When you assign an issue to a project member, they are automatically added as a watcher.
Watchers: Learn about watchers here.
Location: Reference the following section on this page for information on location.
Location details: Use this field to add any additional identifying information for your issue.
Placement: Choose to place the issue on a file or sheet. Select the specific file or sheet, and place the issue pin as prompted. An issue can only be placed on one file or sheet.
Tip: When you place an issue on a 3D model in Files, this will create a thumbnail from the current display of the issue in the viewer. The thumbnail includes the issue pin. Any issue markups that you create will appear in the thumbnail.See Place Issues on 3D Models and Create Thumbnails for details.
Learn more about creating issues in Files.
Due date
Start date
Root cause: Select an existing root cause type previously created or preconfigured in the Root causes settings
Complete any custom fields: If the Type you have selected has custom fields added to it, these will display below the Root cause default fields.

Click Create.
Note: If you did not complete any required fields, they will be highlighted with a Required warning sign. Complete them or if you are not ready to complete these fields, change the Status to Draft and click Create. Your issue will be created in the Draft status. The status cannot be changed to any other status until the required fields are completed. You can find all your draft issues by filtering the Issues log.
The issue will automatically be assigned the next sequential number and will be listed in the issues log.
See Import Issues to learn how to import multiple issues from an Excel or CSV file.
Limitations on Issue Fields
When creating issues, there are character limits on specific fields. See Product and Tool Limitations under Autodesk Build and find Issues.
Locations on Issues
When creating an issue, the Locations field contains only locations configured on your project. Learn about configuring locations here.
Locations appear in issue reports exported from your project, and you are able to filter issues by location as well.
Place Issues on 3D Models and Create Thumbnails
When you place an issue on a 3D model, this will create a thumbnail which includes the issue pin.
In the Create issue panel, click into the Placement field and select Files.
Select one of the two root folders: For the Field or Project Files.
Navigate to the file where you want to create your issue.
Click Select.
In the viewer:
Click to place the issue
 anywhere on the 3D model. Issues are automatically published by default.
Click Done.
Enter required information in the Create issue panel.
Click Create.
This action generates the issue thumbnail, which will display in the Details tab.
 Tip: Click the thumbnail to view it in full size.
Click into the Placement field to open your issue in the viewer, where you can add markups and edit thumbnail.
See Work with Issues in the Viewer to learn more.
Create Issue Markups
To add markups to the issue thumbnail:
Click the Add markups icon
 in the lower left corner of the issue thumbnail.
Select a tool from the markup toolbar on the right and start creating your markup.

Click out of the markup to complete.
Click Save thumbnail.

Update Issue Thumbnails
Updating the current issue thumbnail with a new thumbnail deletes all markups on the existing thumbnail.
Click the camera icon
 in the lower left corner of the issue thumbnail.
When prompted to confirm your choice, click Take new thumbnail.

The updated thumbnail will display the original default issue image that was captured at the time the issue was created.
Click the Add markups ![]() to add new markups.
to add new markups.

See Work with Issues in the Viewer to learn more.
Create Issues in Other Tools
You can also create an issue as a markup on a sheet or a file. Find detailed instructions in Sheets Feature Markups or Files Feature Markups
It's also possible to create an issue as a reference on an RFI, submittal, asset, and more in Autodesk® Build.